Getting Started
TrustRelay is a data product marketplace platform. It lets organisations publish, discover, and request access to AI-ready data products — with built-in access control, schema documentation, SLA tracking, and a Model Context Protocol (MCP) server that AI agents can query directly.
Platform roles
| Role | Description |
|---|---|
| Platform admin | Manages tenant settings, app integrations, and all users and organisations |
| Org owner | Creates and publishes data products; evaluates access requests from consumers |
| Org deputy | Delegates of the org owner with similar privileges |
| User | Discovers products in the marketplace and requests access |
First-time setup
After deploying TrustRelay, a platform admin should complete the following steps before inviting participants.
1. Configure tenant info
Go to General Settings → Info and fill in:
- Tenant name — displayed throughout the UI and in email notifications
- Tenant short name — used in slugs and identifiers
- Tenant description
2. Upload a logo
Go to General Settings → Appearance and choose a logo source:
- None — no logo
- Hotlink — paste an external image URL
- Upload — upload a file directly
The logo is served from GET /api/logo and displayed in the app header and on the login page.
3. Configure app integrations
Go to General Settings → Apps to enable optional integrations:
| Integration | Purpose |
|---|---|
| LLM service | AI-assisted features (product description drafting, etc.) |
| Email service | Invitation and notification emails (SendGrid, Mailgun, Brevo, SES, or SMTP) |
| Image service | Cover image search (Unsplash, Pexels, or Pixabay) |
4. Set system roles
Go to General Settings → Governance to designate which organisations hold the Anchor and Deputy roles on the platform.
Inviting participants
TrustRelay uses an invitation workflow to onboard new users and organisations.
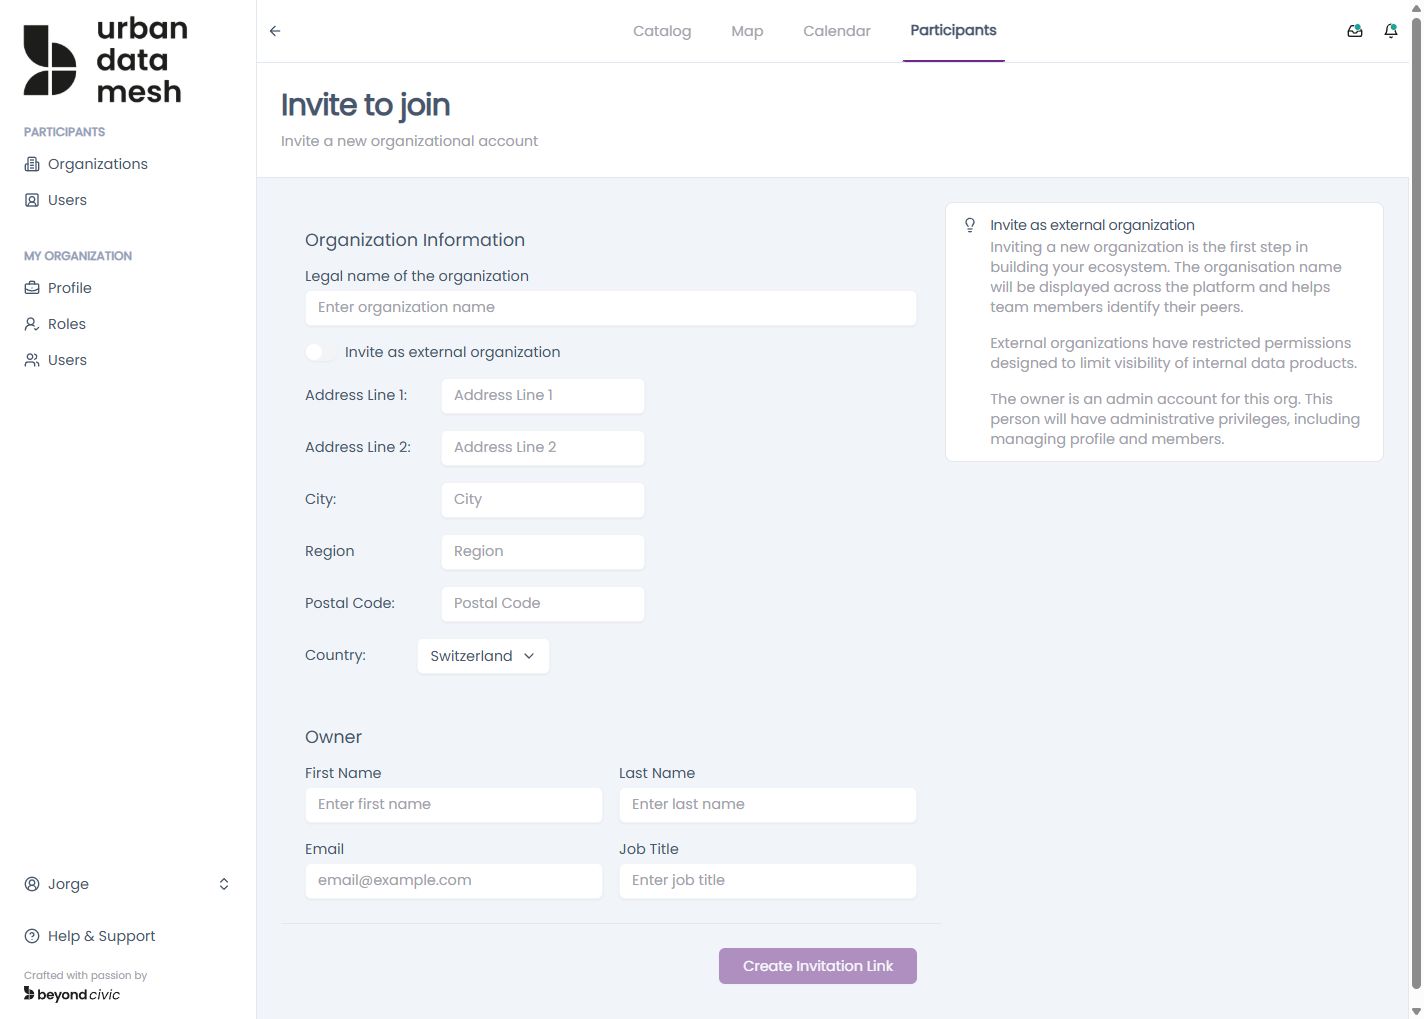
Inviting a new organisation (with its owner)
- Go to General Settings → Invitations and create an invitation of type as-org-owner.
- The invitee receives a link to
/invitation/[token]. - Accepting the invitation creates their organisation and user account in one step.
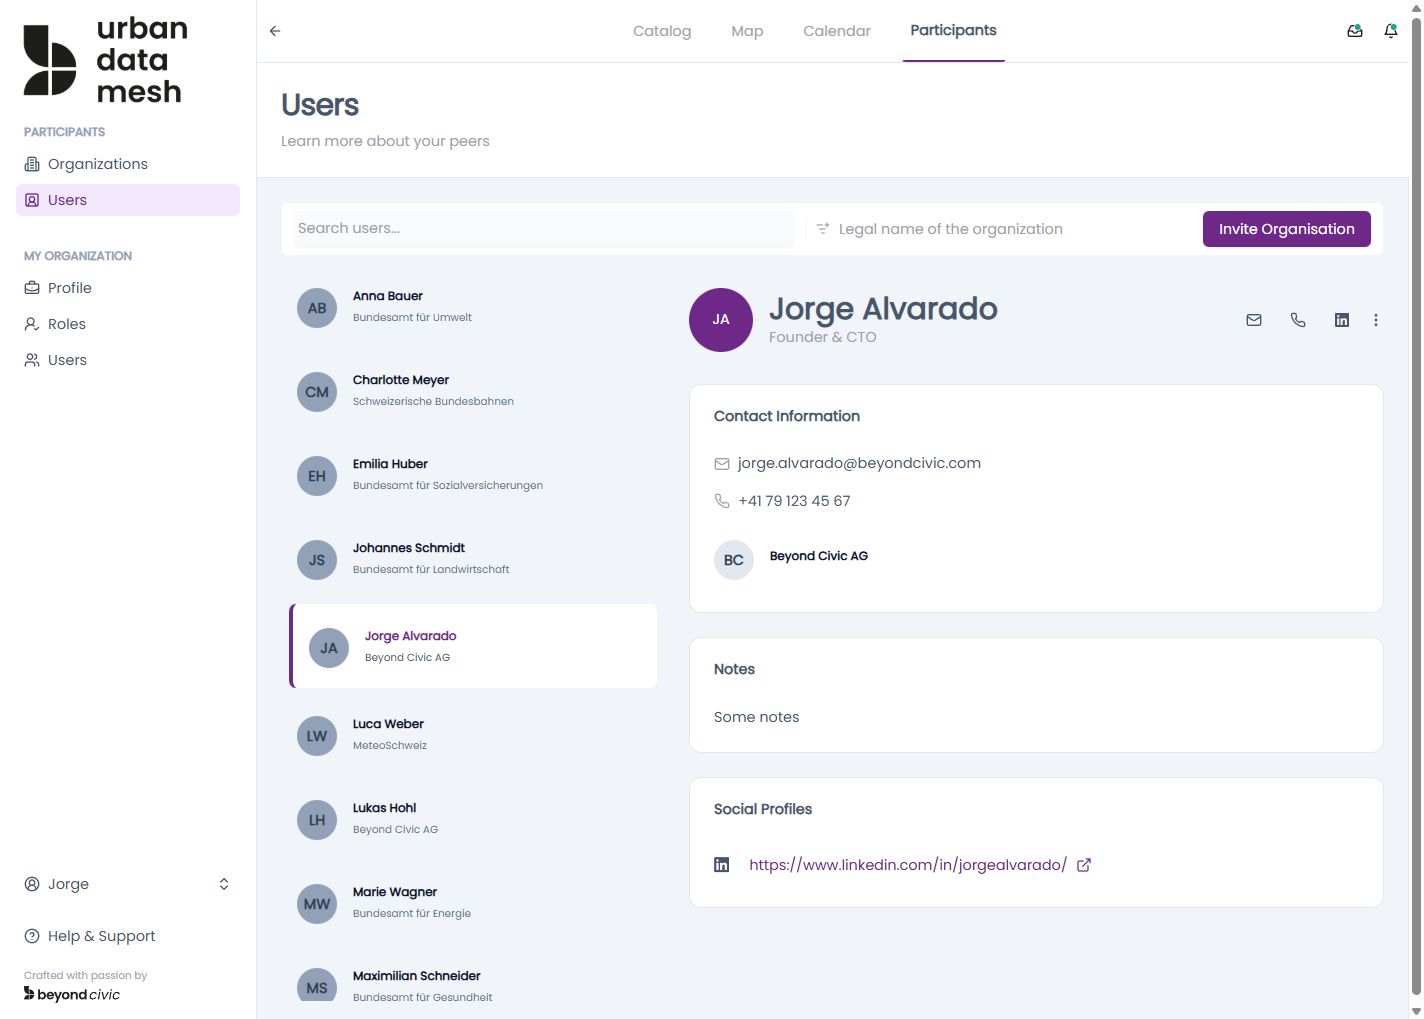
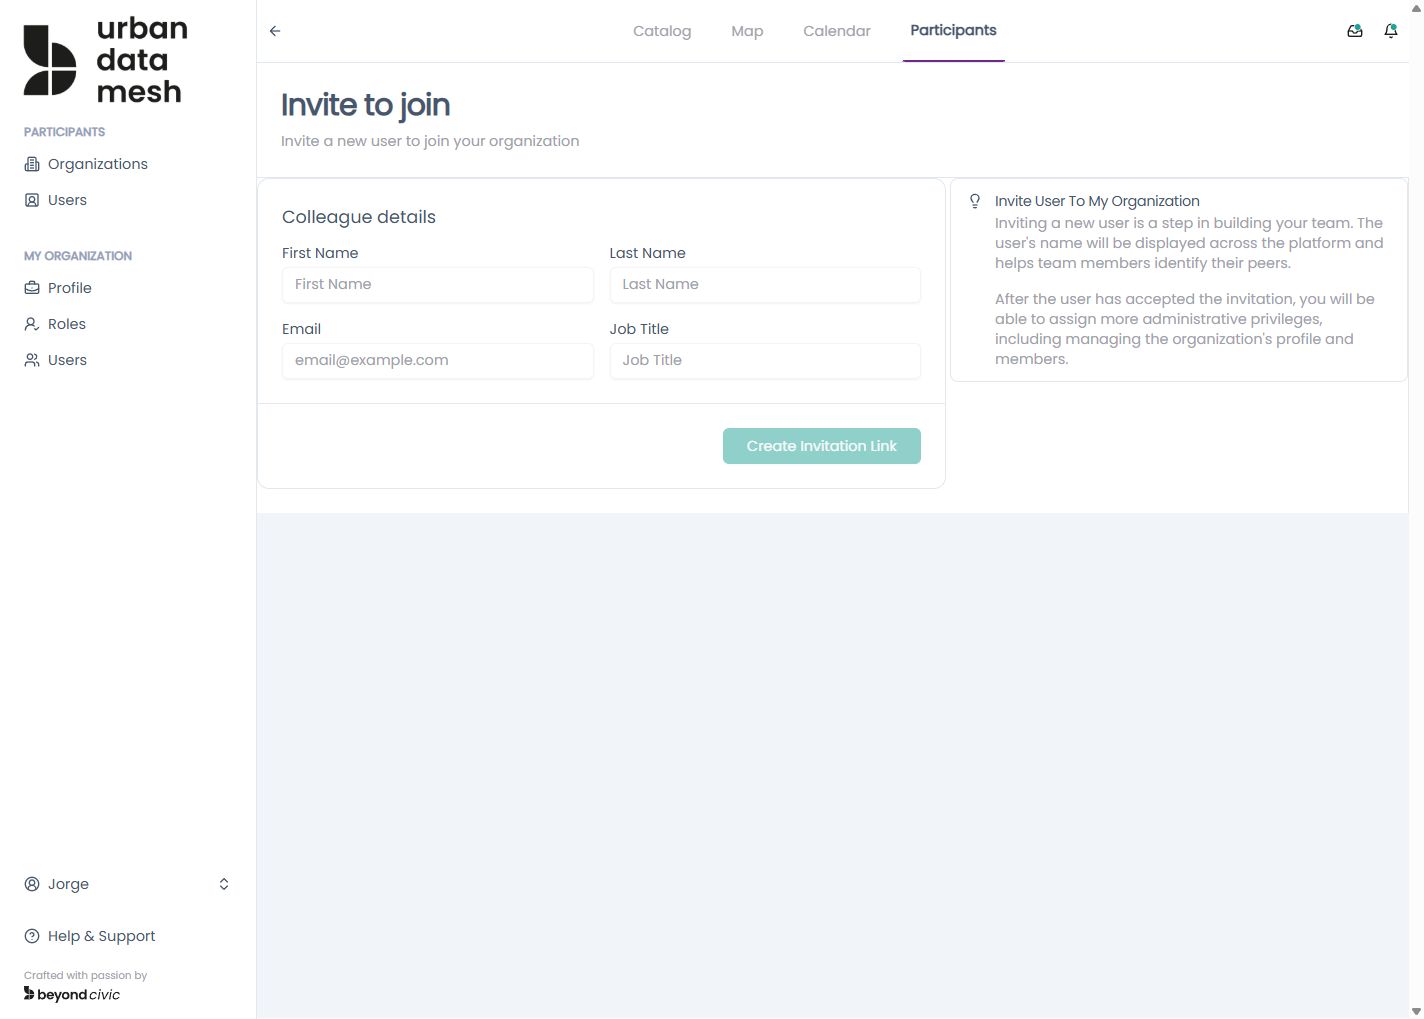
Inviting a user to your organisation
- Go to Participants → Invite to My Org and send an as-user invitation.
- The invitee accepts via their invitation link and is added to your organisation.
Creating your first data product
Data products are the core unit in TrustRelay. A product goes through a defined lifecycle: draft → published → (optionally) phased out.
- Create — Go to Our Products and click New Product. This creates a blank draft.
- Fill in metadata — Complete the tabs: General Info, Schema, Credentials, Usage, SLA, License, Pricing, Support, Use Cases, and Lineage.
- Set credentials — Provide the connection details consumers will use to access the underlying data (S3, Azure Blob, HTTP endpoint, etc.).
- Check publication status —
GET /api/products/{productversionid}/publication-statusreturns which sections are complete. - Publish — Once all required sections pass validation, publish the product. It becomes visible in the marketplace.
See Data Products for a full breakdown of each tab and the versioning model.
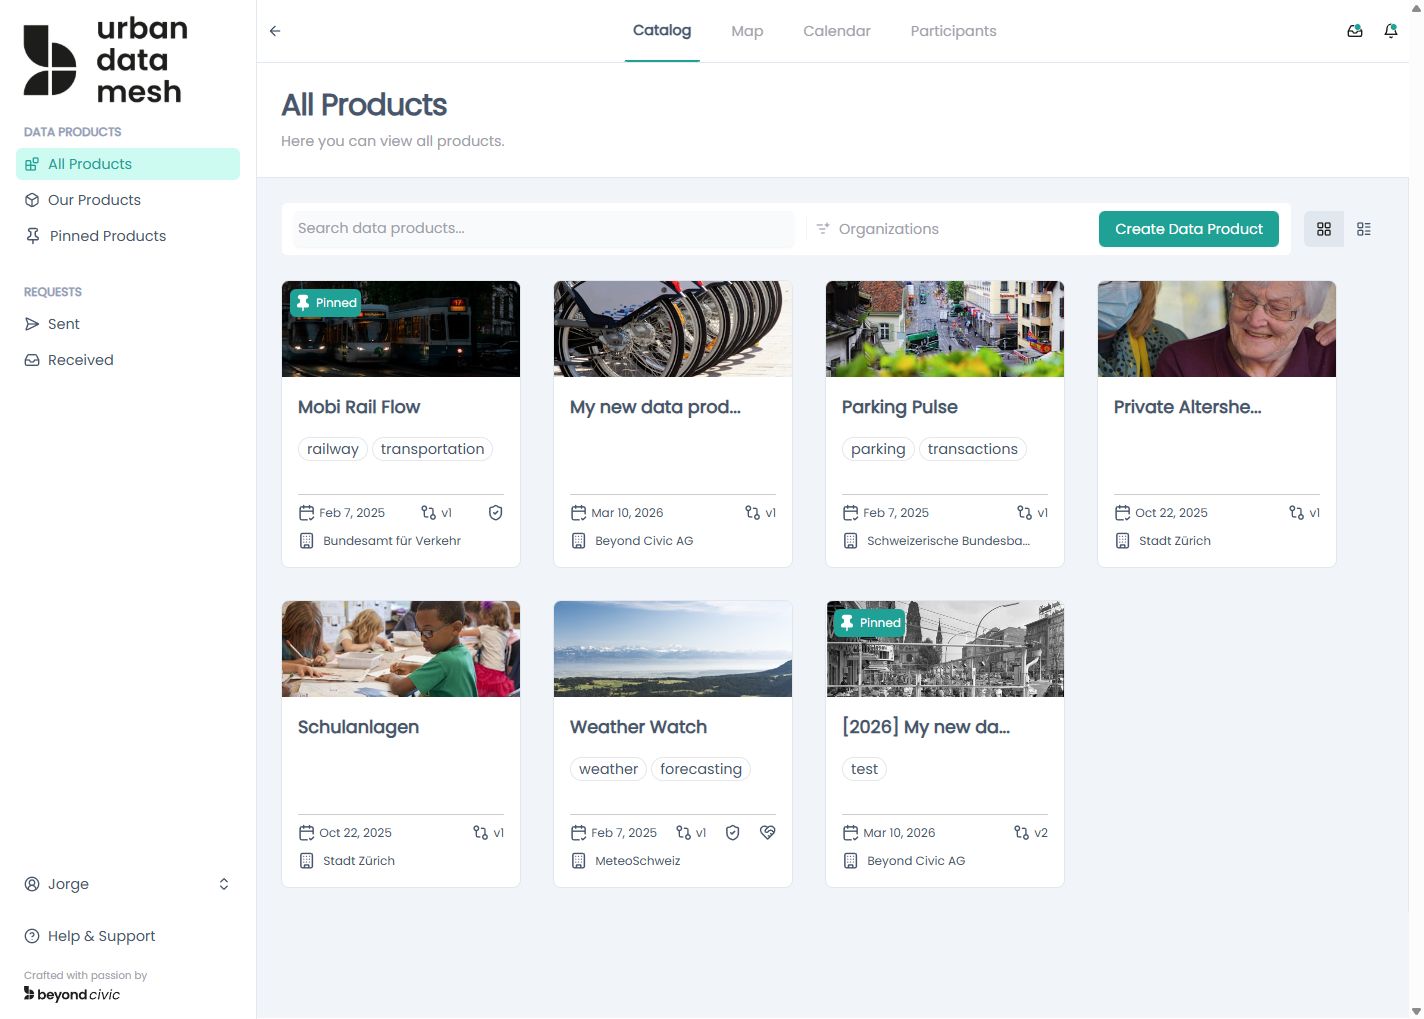
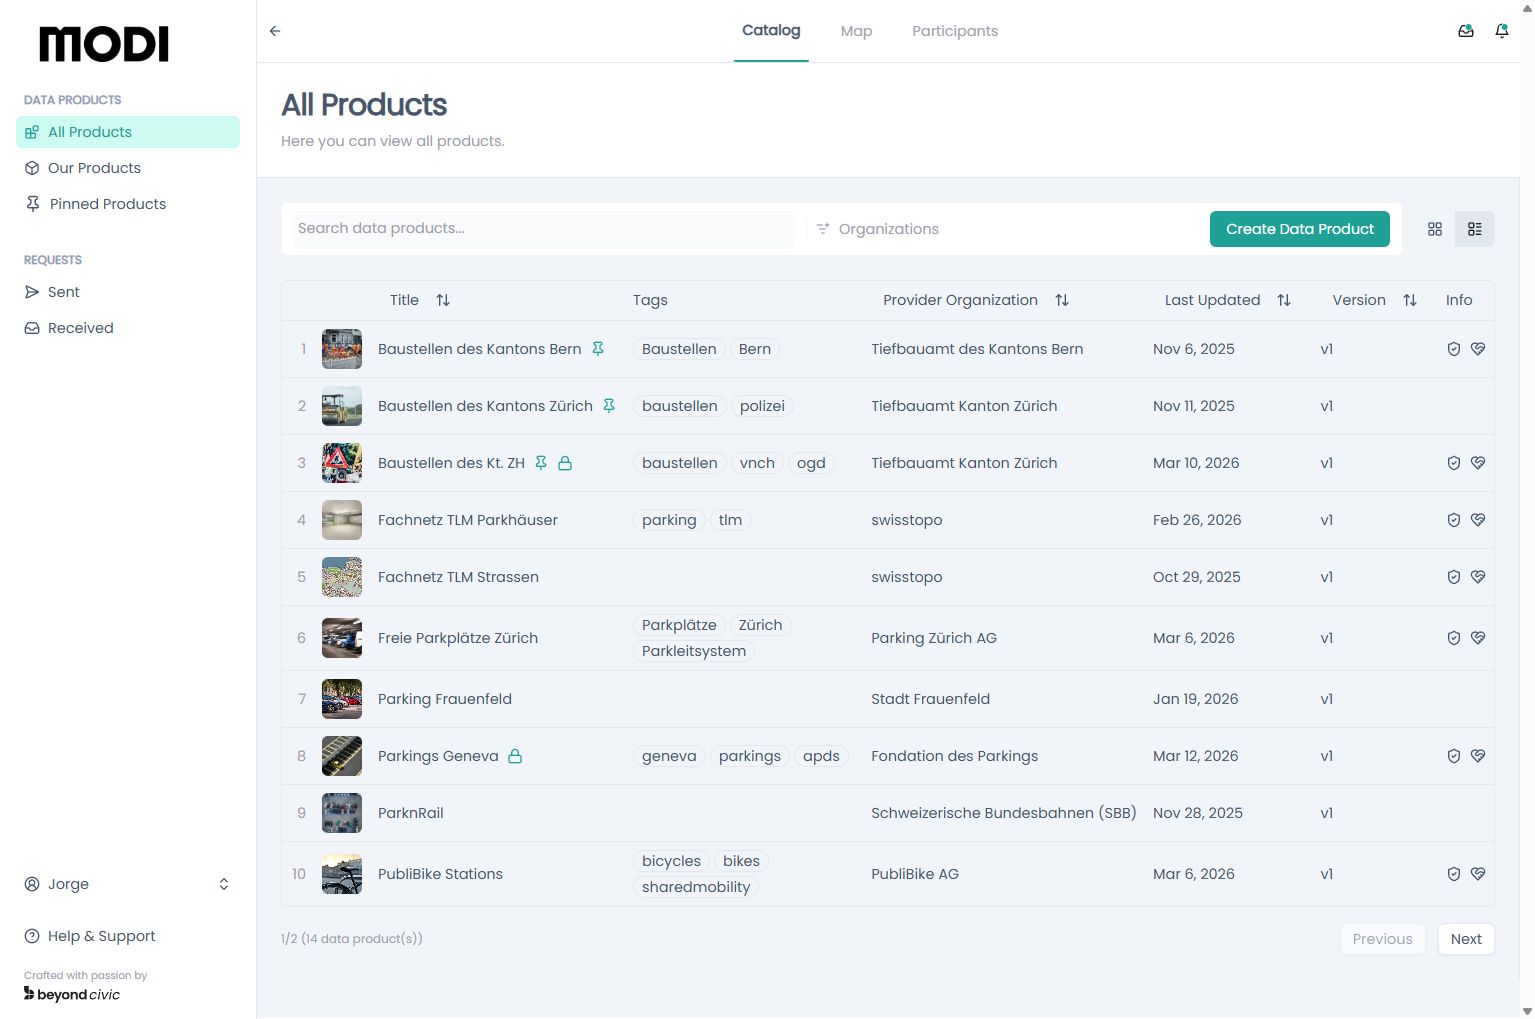
Requesting access to a data product
- Browse the All Products marketplace.
- Open a product’s public profile and click Request Access.
- If the product has
requires_manual_approval = false, access is granted immediately. Otherwise, the provider’s org owner or deputy reviews the request. - Once granted, your access agreement appears in Sent Requests and expires after the configured period (default: 365 days).
Next steps
- Data Products — lifecycle, sections, versioning, and publishing rules
- Access Management — access request workflow and invitation system
- MCP Integration — connect AI agents to TrustRelay via the Model Context Protocol
- Personal Access Tokens — create PATs for programmatic and MCP access
- API Reference — full REST API reference